Picture this. You’re working on adding a new Demag chain hoist to an existing bridge and trolley for your customer. You have bought all the parts and equipment you think you need. You just got done installing everything and, as you press the button on the pendant to test whether it works, nothing happens. The trolley doesn’t move and/ or the hoist isn’t moving. Or maybe the LED on the hoist is on, but nothing is running. What’s your next move?
This is a common situation our technical group hears. When you’re replacing or adding a new Demag chain hoist to an existing trolley or bridge, it’s important to understand the interconnections and variants of the Demag model DC chain hoist you are using. Depending on the scenario and model you’re working with, there are specific parts you need to get the new hoist working on an existing trolley or bridge. Don’t get caught in the cold thinking you have the right parts without reading the guide below. In this article, we will go through the parts needed and some vital information so you can get the job done efficiently.
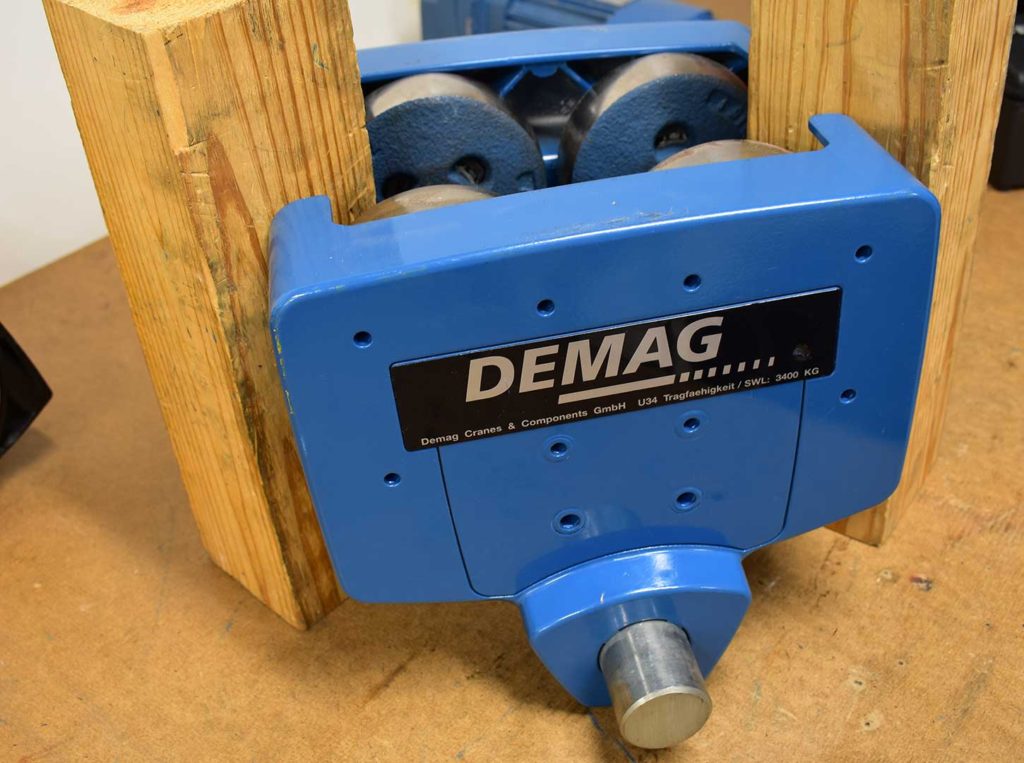
Demag DC Chain Hoist Series 101
The Demag DC chain hoist series has two major variants based on speed. The first type of DC has 2-speed control. Two-speed models include the DC-Com, DC- Pro and DCM-Pro Manulift. These have a fast and slow lifting speed with a smart contactor and relay system supplemented with programmed functions.
The second type of chain hoist has stepless variable speed, meaning however hard you press the button is how fast or slow the load will travel, up to its maximum lift speed. Models with variable speed are the DCS-Pro and DCMS-Pro Manulift. Unlike the two-speed version of the hoist, the variable speed chain hoists have dedicated pendant and radio controls with buttons that create the special PWM waveforms needed for controlling the hoist.

When you’re adding any model of the DC chain hoist series to an existing crane or trolley set up, it’s important to understand how the models interface with existing controls or any new radios and pendants. Knowing what parts you need will help you to get the job done right the first time.
2-Speed DC Chain Hoist Models
The DC-Com, DC-Pro, and DCM-Pro Manulift are all 2-speed models. These hoists are designed with a 24vac control system. It’s a smart contactor and relay system that is supplemented by an electronic processor-based system with programmed functions. The electronic system detects the control commands triggered by the operator pressing the buttons on the pendant. The control signals are 24vac tri-state signals, which means the control voltage is directed through rectifiers to create half wave, full wave and no wave rectification.
Adding a Demag EU 11-34 Trolley to the 2-Speed DC Chain Hoist
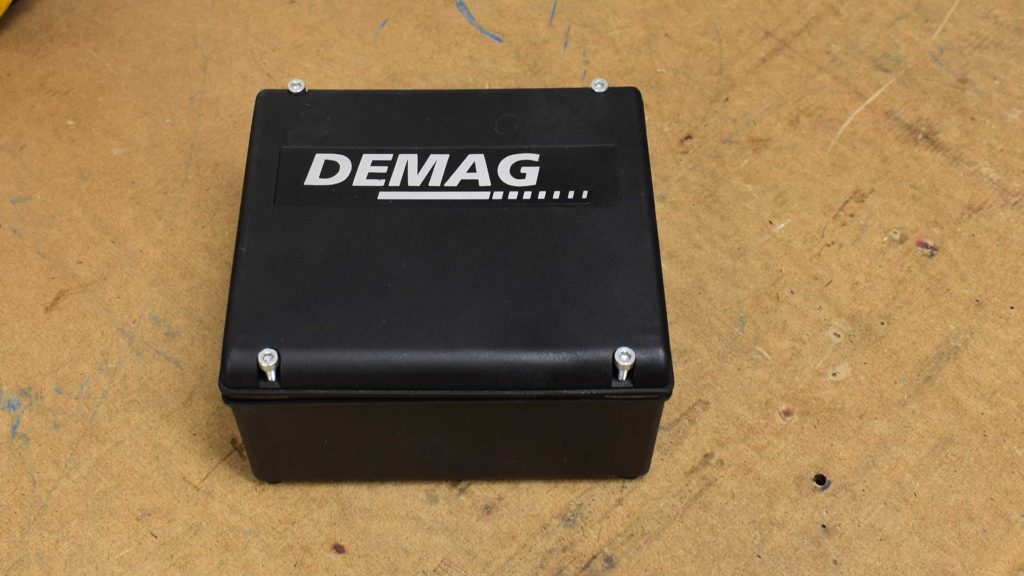
The EU trolley and DC chain hoist are designed to work together without additional modules. If pairing a DC chain hoist with a new Demag EU-trolley, the circuit boards are simply connected via a signal cable and the incoming power cable. If you are connecting the DC chain hoist and EU trolley, be sure to have the two cables with you for the install.
Travel
unit control cable #72007045
Travel Unit Supply Cable #72007245
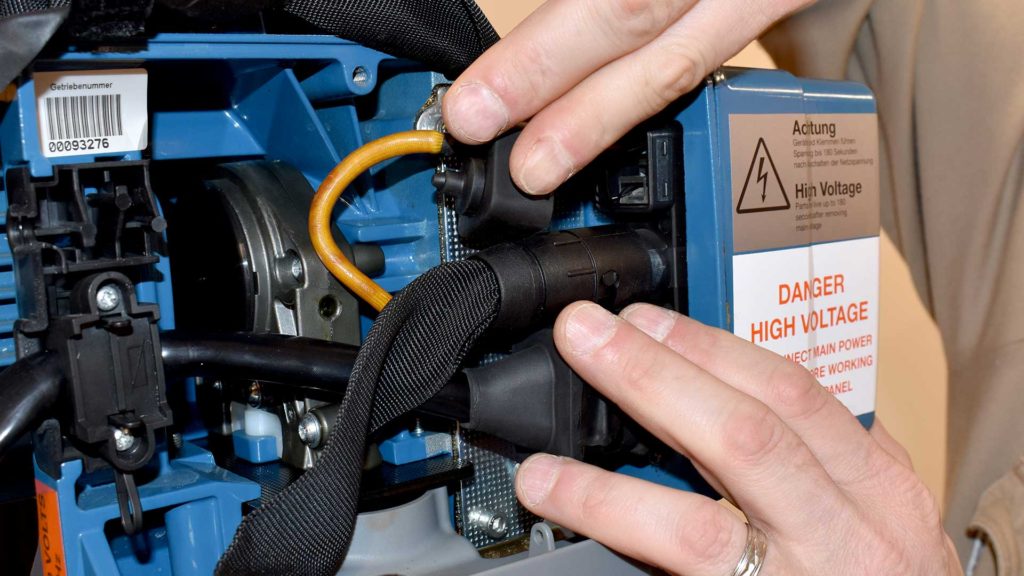
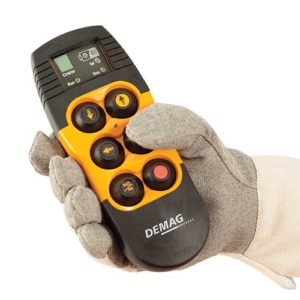
It’s easy to make the connections. Simply remove the dummy plug with the single wire jumper from the socket on the back side of the hoist control board. We highly recommend keeping this dummy plug for future troubleshooting because the hoist requires it to be present to run independently. When you’re adding a trolley to a 2-speed Demag chain hoist, you’ll also need to purchase a new pendant. If you have been using the hoist without a trolley, there is not enough buttons on your existing pendant control. You’ll need to make sure to purchase controls with an extra set of buttons so you can add trolley control. Don’t forget, make sure the pendant or radio you choose has the ability to work with the hoist.
Adding a 2-Speed DC Chain Hoist to an existing bridge and/or trolley with an existing control pendant
When you are mounting a Demag DC-Com or DC-Pro to an existing bridge or trolley with an existing control pendant, it is likely the existing equipment has 110vac conventional control. The DC chain hoist you are adding requires 24vac tristate signals. With the pre-existing pendant control running on 110vac, you will need to convert signals with a KT3 conversion module. This module converts the 110vac to the 24vac tri-state control signals required to run the hoist.
Adding a 2-Speed DC Chain Hoist and EU 11-34 Trolley to an existing bridge with an existing control pendant
When pairing the DC chain hoist with a new Demag EU-trolley, the circuit boards are simply connected with a signal cable and the incoming power cable. The KT3 conversion module is capable of controlling the EU trolley along with the DC 2-speed chain hoist.
Adding a 2-Speed DC Chain Hoist and EU Trolley to an existing bridge using the new control pendant at the chain hoist.
Adding a Demag DC-Com or DC-Pro chain hoist along with an EU trolley to an existing bridge with a new control pendant connected at the chain hoist will provide 24vac tri-state control signals originating from the hoist. The 24vac tri-state signals will need to be converted to 110vac in order to control the pre-existing bridge. The module that converts the 24vac tri-state signals to 110vac conventional signals for the old bridge is the 3TK module. The 3TK can also control a pre-existing 110vac trolley if you’re not using the Demag EU trolley.
Adding a Radio System to a 2-Speed DC Chain Hoist
If you select a Demag brand radio system, the receiver simply plugs in where the pendant would normally attach. Generally speaking, most popular radios can be readily used with a Demag 2-speed chain hoist. You just need to use the Demag Radio Interface. Many customers choose to use a Flex4EX2 or Flex6EX2 radio system. These work well for the 2-speed application, but does not provide the PWM signals required for the variable speed DCS chain hoist.
Variable Speed Demag DCS Chain Hoist Models
Demag DC chain hoists with variable speed have a dedicated line of pendant controllers. To create a proportional variable speed signal, special PWM pushbuttons are used that produce the variable waveform signal necessary for creating the variable speeds of the hoist. These pendants are listed below.
- DSC-S #77350033
- DSE-10CS #77335345
Adding a Radio System to a DCS Variable Speed Chain Hoist
A Demag radio system should be used with Demag DCS variable speed chain hoists to have the proper input signals for variable speed. The Demag DRC MP Radios can be programmed for use with either 2-speed or variable speed applications. If you connect a non-Demag brand radio through a radio interface to a DCS chain hoist, the variable speed nature of the chain hoist is lost and only two speeds are provided.
When adding a new Demag DC series chain hoist to an existing bridge and trolley, always make sure you know what type of chain hoist you are adding and understand the interconnections necessary to have a successful install. You have options to use different pendants and radios when using a 2-speed chain hoist. Even better, when connecting a Demag chain hoist and EU trolley, the system is made to work together so it’s plug-and-play. Variable speed always requires the use of a Demag radio or pendant to continue to use the hoist with the variable speed feature. Always check to make sure you are ordering the correct pendant for the model DC chain hoist you are working on. Now, you can have all the needed parts ready to get the install completed efficiently for your customer.
- Understanding Wire Rope Lay for Your Next Wire Rope Hoist Repair or Inspection - December 21, 2023
- Diagnosing Additional Error Codes on Demag CANBUS Hoists and Cranes - March 28, 2023
- Maintenance and Service Tips for Demag KB and ZB Motors in Non-Crane Applications - February 7, 2023